Enter Inventory without VIN Decoder
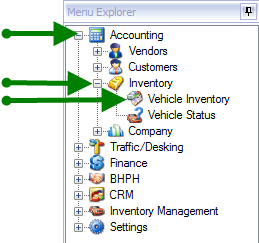
1. Click on Accounting, Inventory, Vehicle Inventory
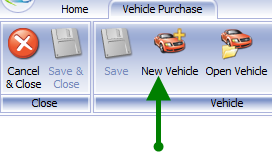
2. Click on New Vehicle
3. Click on drop down arrow to choose from menu which group you want the vehicle to be stocked in under.
Note: If you only have one group this can be set as a default so that it will automatically populate. for more information click Inventory Group Setup

4. Type in vehicle information.
Note: VIN Decoder available in Silver and Gold Packages only
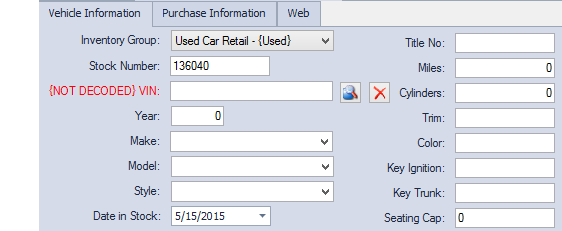
5. Date in Stock - will default to current date. Change by using drop down arrow or typing date in the box.
6. Click in box to enter Title No., if you have it. It can be inserted at a later date
Click in box to enter miles currently on odometer of the vehicle.

7. Click in box to enter the information
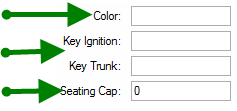
Note: the 'Key Ignition' and 'Key Trunk' are for the Fob key codes
8. Click on drop down menu to choose location of vehicle. Click Inventory Locations Window for more detailed information on creating locations for menu.
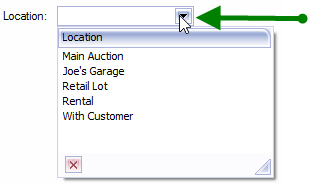
Note: You can leave this field blank
9. Click on Purchase Tab

10. Click on 'Vendor' drop down menu to choose where vehicle was purchased from. If vendor is not in the list click on  icon.
icon.
For more detailed information click Enter or Edit Vendor.
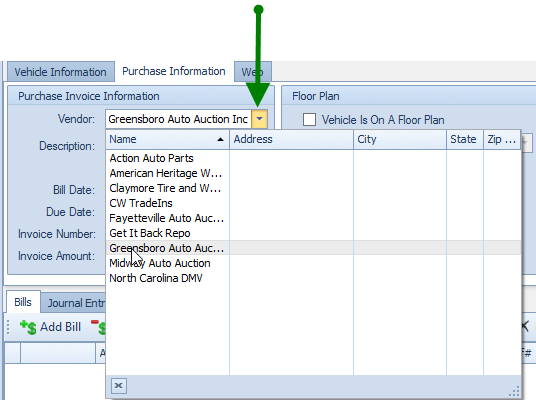
11. The vehicle information will be in the Description box.
Enter Click in or tab to the Date and Invoice boxes to enter information.
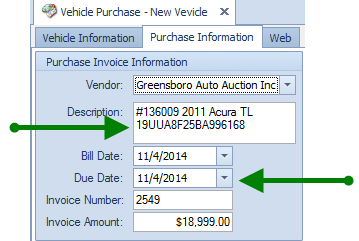
Note: The invoice amount is what you paid for the vehicle and get it to your lot.
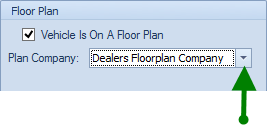
12. If vehicle is on a floor plan, check the box and choose the appropriate company from the drop down menu. If not on the list click on  icon.
icon.
13. Click in or tab thru Vehicle Amount fields and enter information. Once you click on save the Vehicle cost will populate.
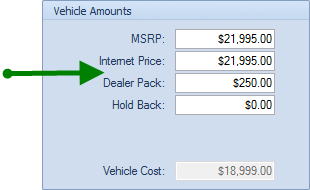
Note: The MSRP is what you are going to sell the vehicle for.
14. To post vehicle to website, click on Web tab.

15. Select web sites to post vehicles to by checking box beside name.
 Replace with one of Mike's screen shots
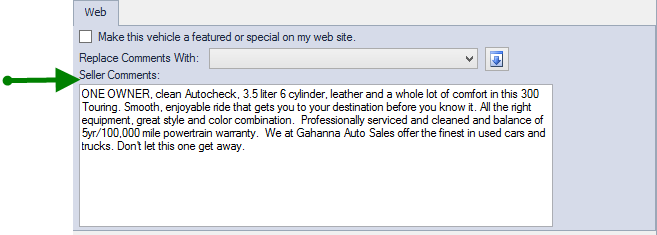
16. Type in customized Seller Comments
OR
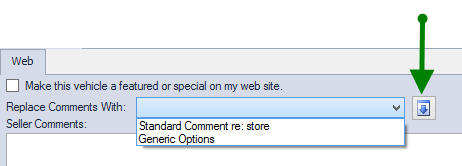
Choose from comment list you can create in settings. For more information click Inventory Web Comment Settings
Click on button next to drop down list to make comments appear in the Seller Comments section.
