Alternate Schedule
Alternate Schedule AutoPay is used when you would like to change the frequency payments are processed.
For instance you have a customer with biweekly payments and you would like to do weekly payments.
-
When you click the AutoPay button on the tool bar (see Add Customer to AutoPay) the AutoPay setup wizard will open.
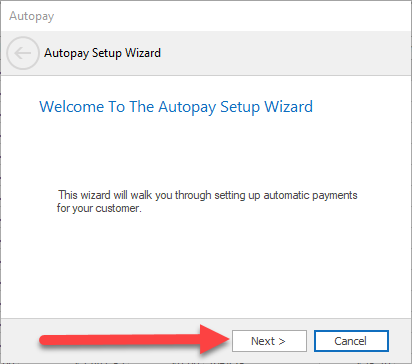
Click the "Next >" Button.
2. Next select a customer payment method. NOTE: If you don't have a customer payment method see "Add or Edit Customer Payment Methods"
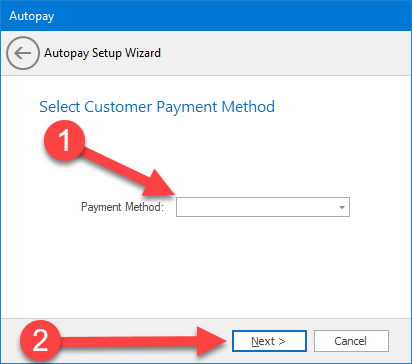
1. Select payment method.
2. Click the "Next >" button.
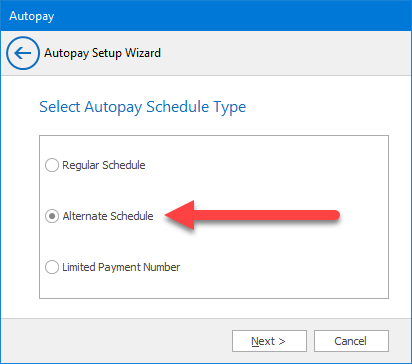
3. Choose "Alternate Schedule" and click the "Next >" button.
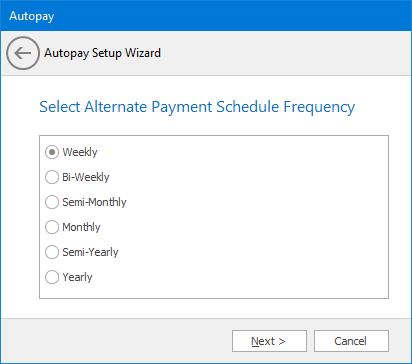
4. Select the payment frequency you want to use and click the "Next >" button.
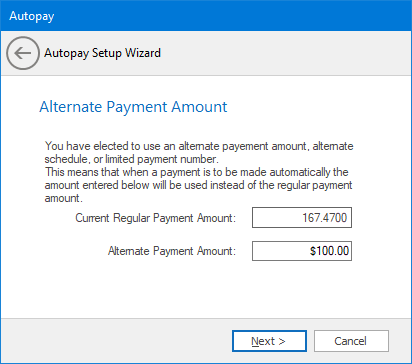
5. Enter the alternate payment amount you want to process for each new period and click the "Next >" button.
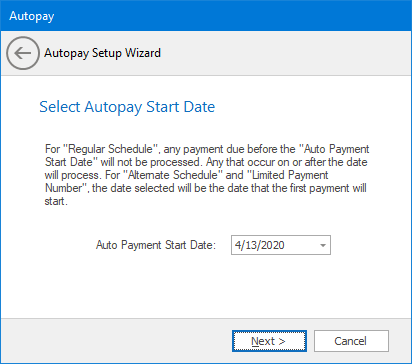
6. Set the start date. For an alternate schedule, this is the date the first payment is to be processed. Each payment will be processed according to the payment frequency selected in #4. Click the "Next >" button.
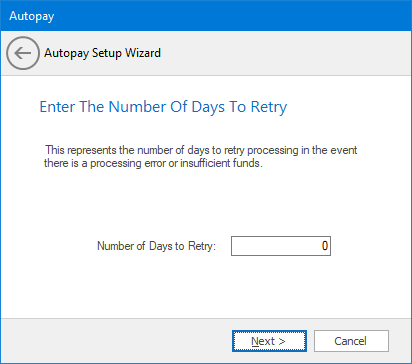
7. enter the number of times to retry processing the payment if the process fails. Click the "Next >" button.
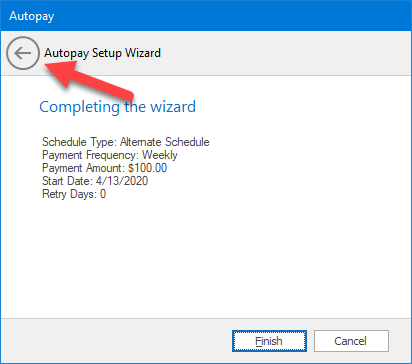
8. The final screen will list all the options you set through the wizard. If you need to change a setting click the back button to go back to the previous screen.
Click the "Finish" button to complete AutoPay setup.
